前回に引き続き、Azure IoTサービスの1つ「Event Hubs」についてご紹介します。
今回は作成したEvent HubsにAzureの「Visual Studio Online」からサンプルメッセージの送信を行います。
Visual Studioの設定
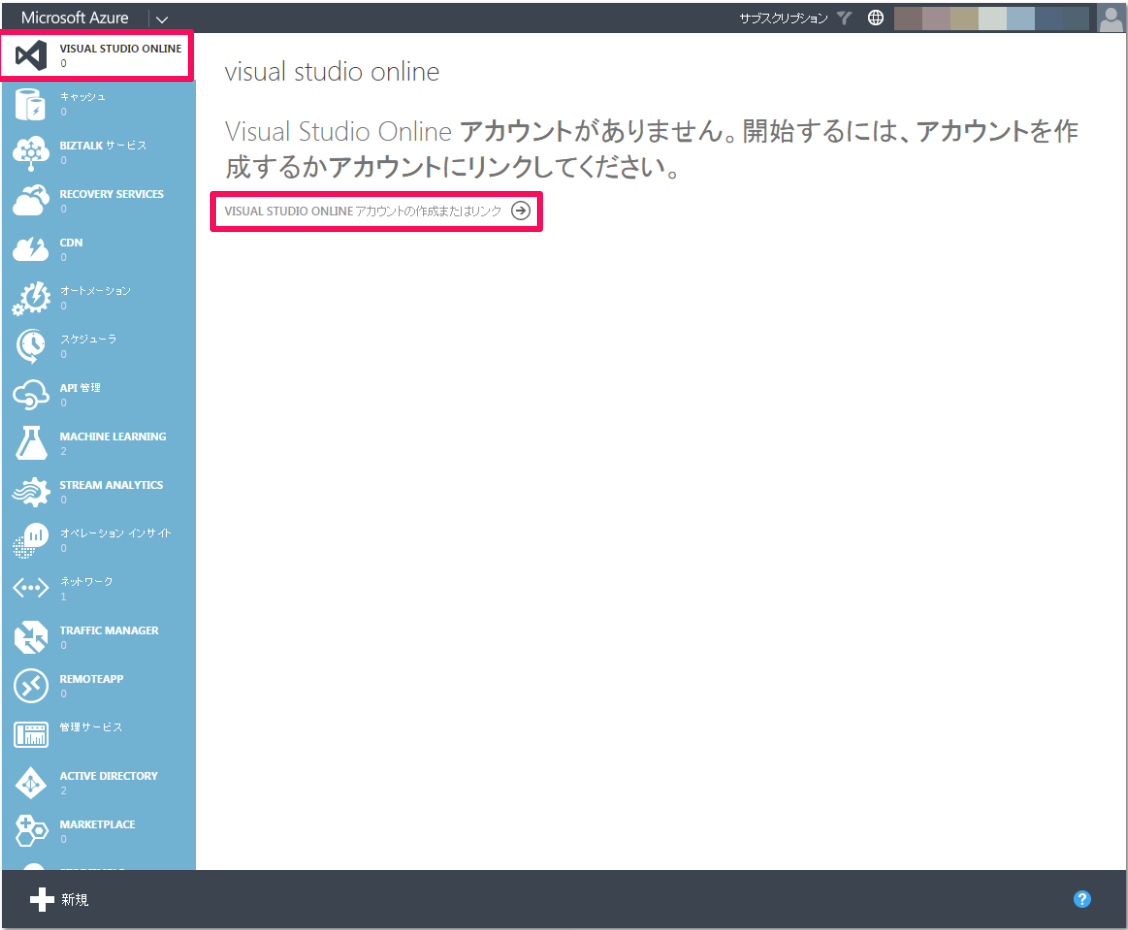
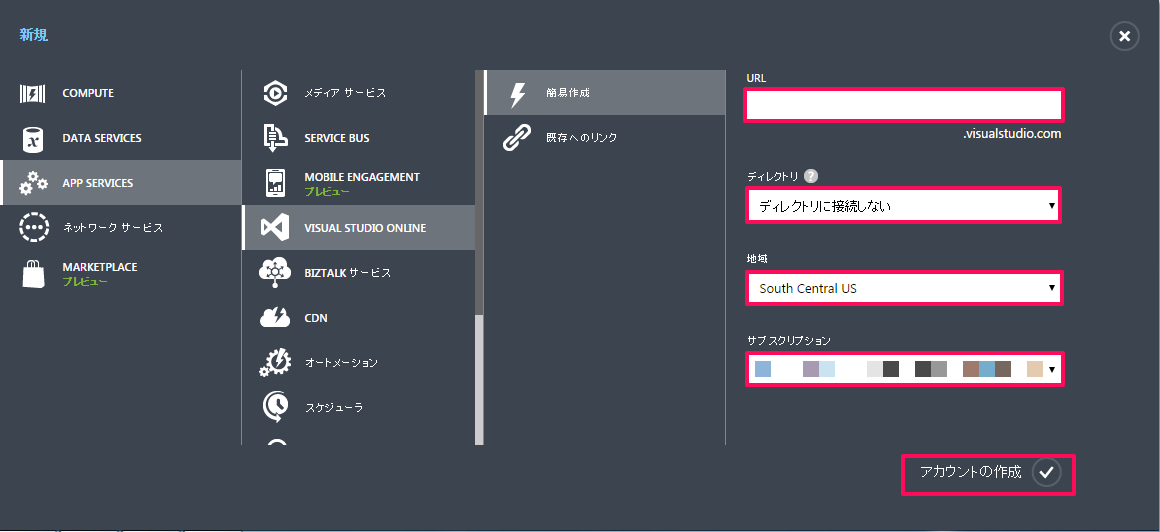
AzureのVisual Studio Onlineを起動するにあたってアカウントを作成します。
今回は簡易作成を利用し、既存のディレクトリとは紐付けずに使います。
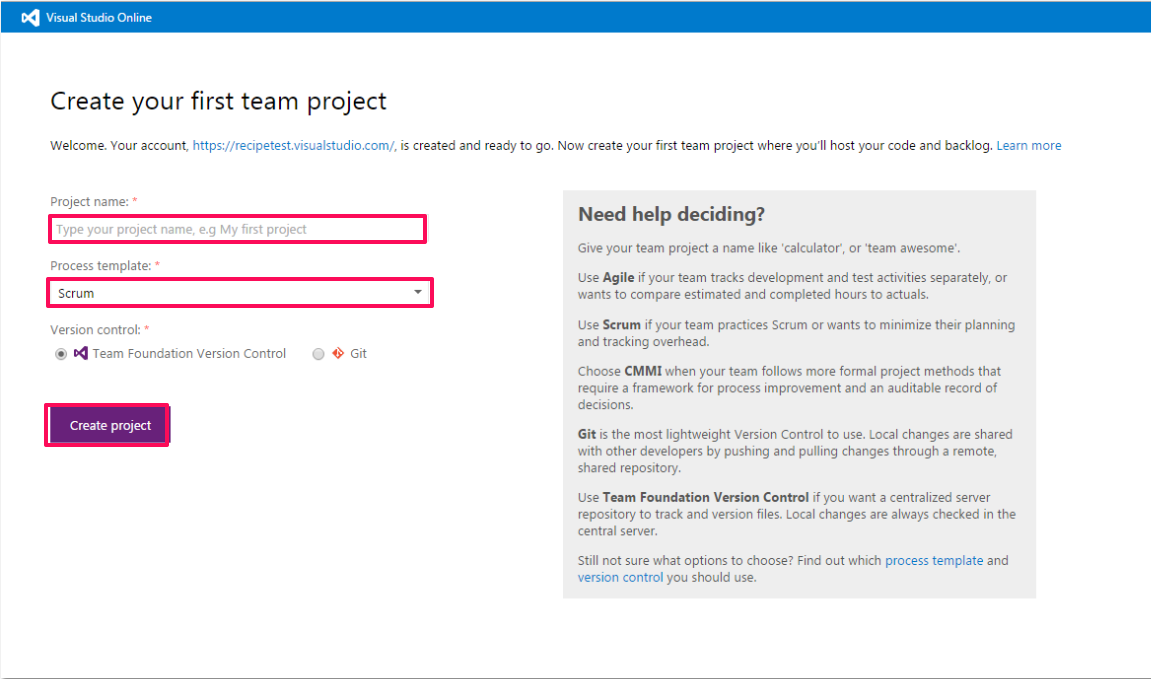
Visual Studioのプロジェクト名とプロセスの形式を設定しますが、今回はサンプルメッセージの動作だけなので好きな形式で構いません。
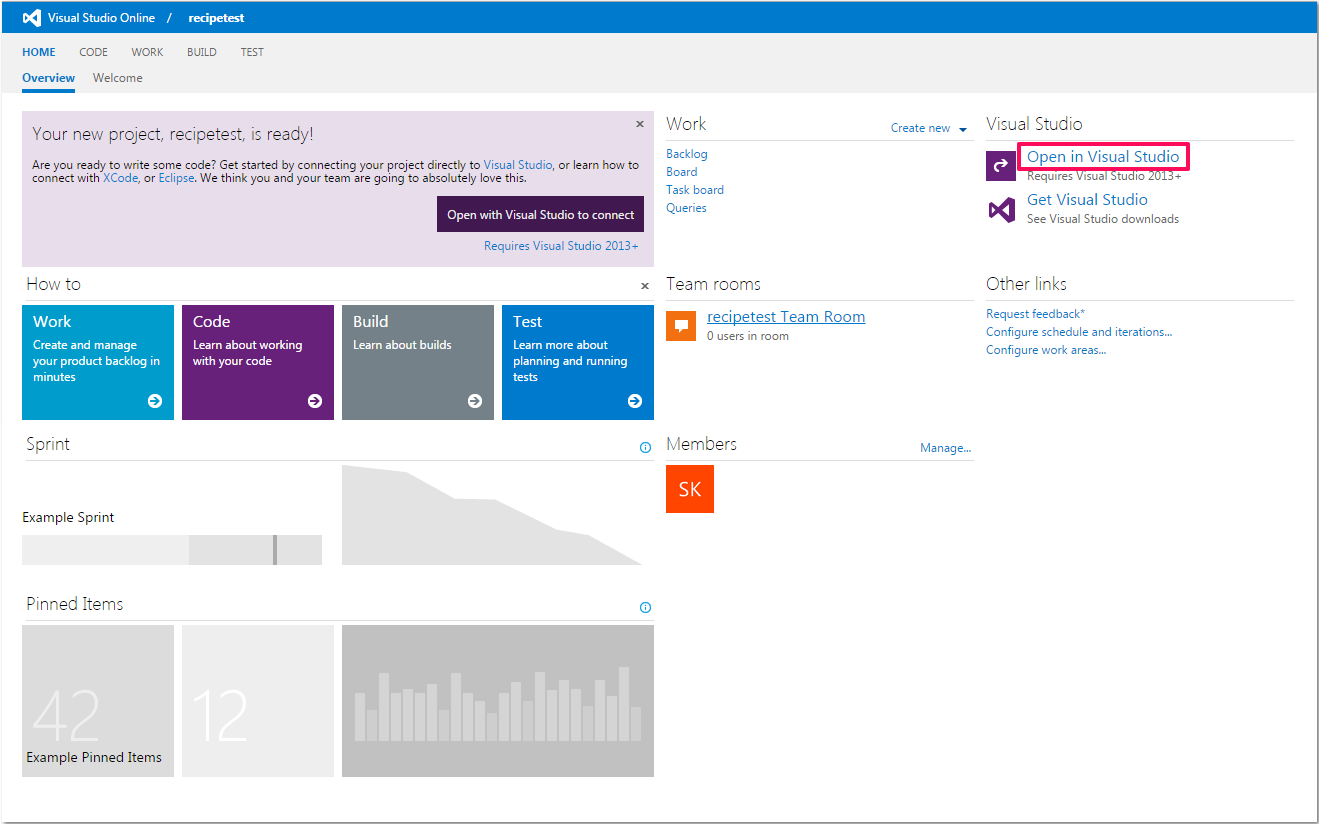
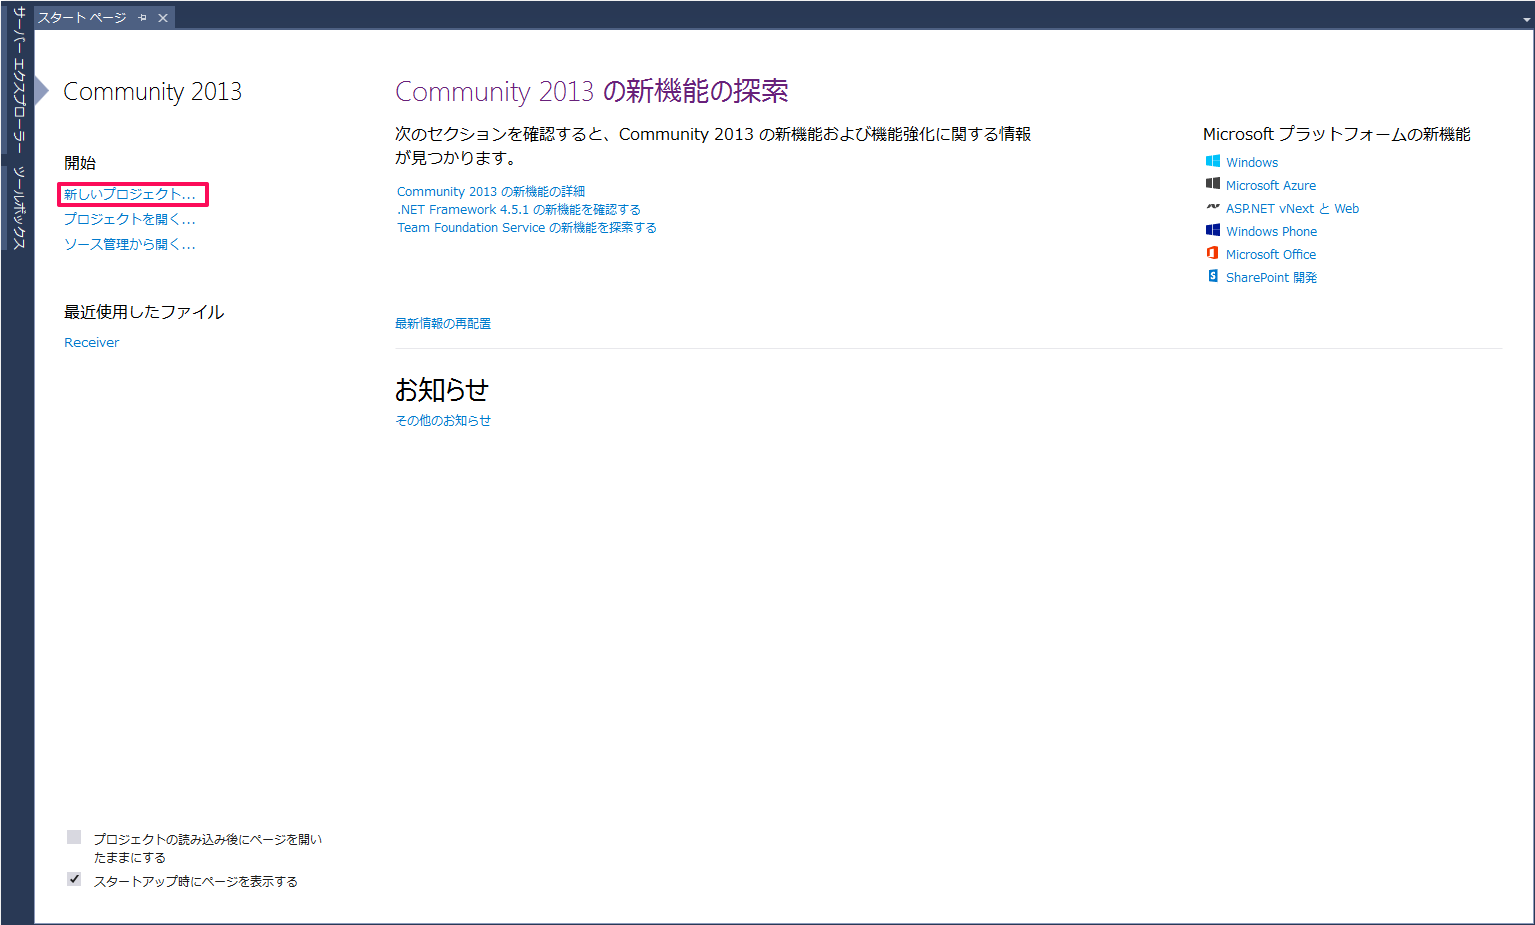
プロジェクトが作成されたら、早速Visual Studioを開きます。
「新しいプロジェクト…」を開きます。
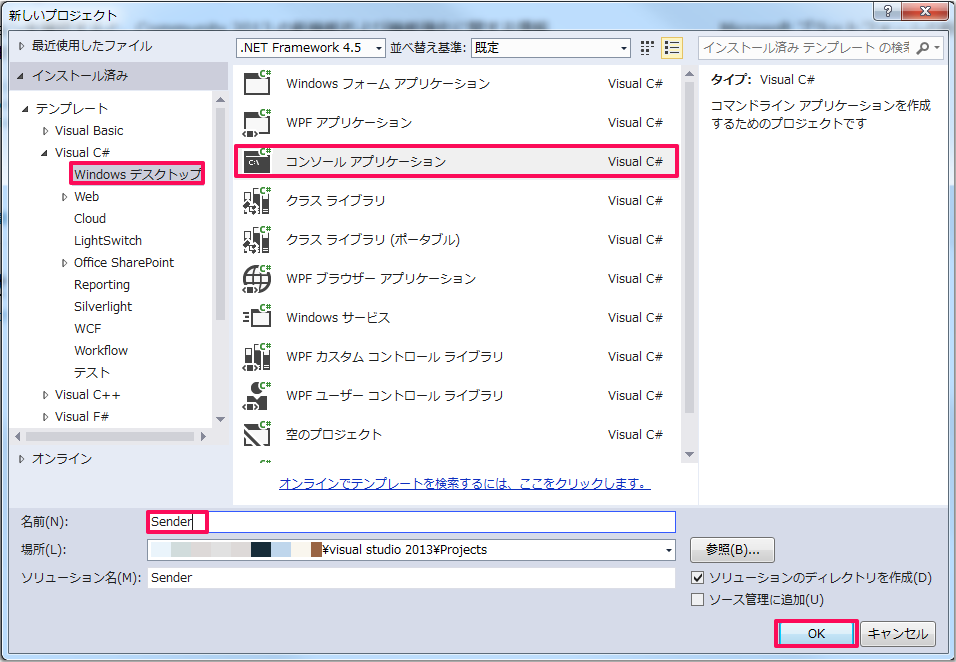
今回のサンプルメッセージはC#で動作させますので、「Visual C#」→「Windows デスクトップ」→「コンソールアプリケーション」の順に選択し、ソリューション名を入力します。
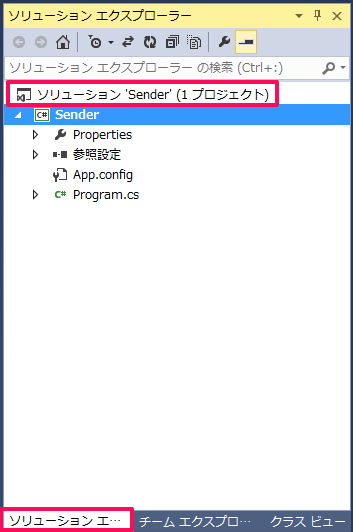
名前を入力したらVisual Studio画面右からソリューションエクスプローラーのタブを開きます。
「ソリューション’ソリューション名’」を右クリックし、「ソリューションのNuGetパッケージの管理」をクリックします。
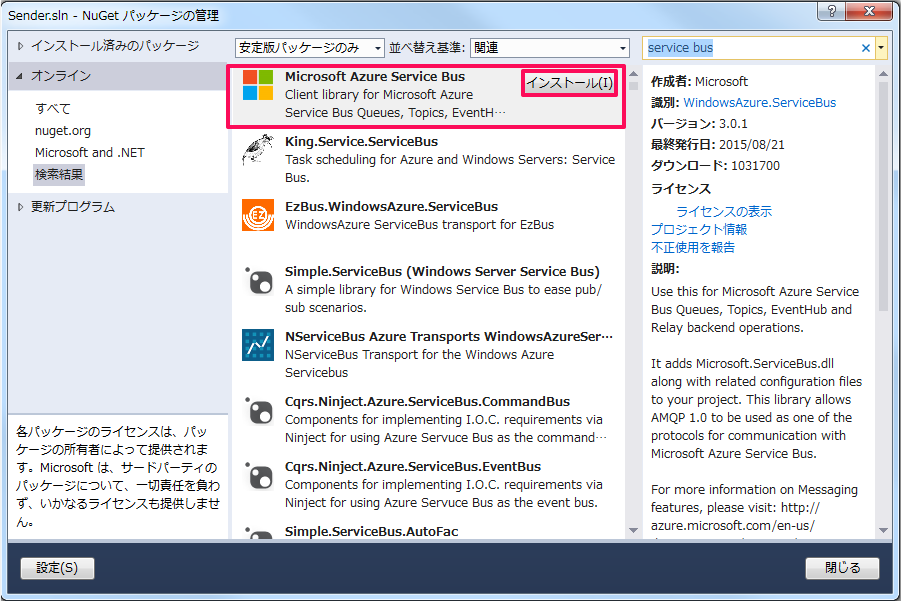
「Microsoft Azure Service Bus」のパッケージをインストールします。
これでVisual Studioの設定は完了です。
サンプルメッセージプログラムの作成と送信
作成したソリューションの「Program.cs」を開きます。
下記の様に記述します。黒字がデフォルト部分、赤字が追加記述部分となります。
※「eventHubName」「connectionString」はそれぞれEvent Hub名と接続文字列を入力します。
|
1 2 3 4 5 6 7 8 9 10 11 12 13 14 15 16 17 18 19 20 21 22 23 24 25 26 27 28 29 30 31 32 33 34 35 36 37 38 39 40 41 42 43 44 |
using System; using System.Collections.Generic; using System.Linq; using System.Text; using System.Threading.Tasks; using System.Threading; using Microsoft.ServiceBus.Messaging; namespace Sender { class Program { static string eventHubName = "recipetest"; static string connectionString = "Endpoint=sb://recipetest-ns.servicebus.windows.net/;SharedAccessKeyName=recipetest;SharedAccessKey=q7wE+o7pvWwZRI2hmfK8Za968j8qJ4J2e0TspwMC53w="; static void SendingRandomMessages() { var eventHubClient = EventHubClient.CreateFromConnectionString(connectionString, eventHubName); while (true) { try { var message = Guid.NewGuid().ToString(); Console.WriteLine("{0} > Sending message: {1}", DateTime.Now, message); eventHubClient.Send(new EventData(Encoding.UTF8.GetBytes(message))); } catch (Exception exception) { Console.ForegroundColor = ConsoleColor.Red; Console.WriteLine("{0} > Exception: {1}", DateTime.Now, exception.Message); Console.ResetColor(); } Thread.Sleep(200); } } static void Main(string[] args) { Console.WriteLine("Press Ctrl-C to stop the sender process"); Console.WriteLine("Press Enter to start now"); Console.ReadLine(); SendingRandomMessages(); } } } |
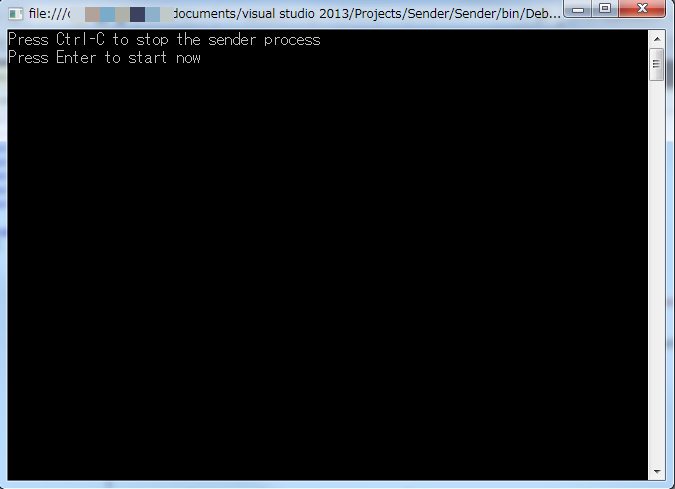
記述したら、ツールバーから「開始」アイコンをクリックします。
下図の画面が出てきたらEnterキーを押します。
下図のように出力されれば成功です。
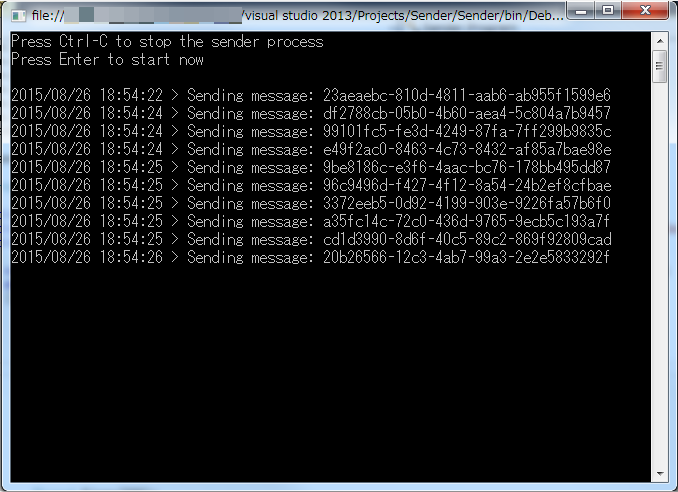
以上でEvent Hubsへのメッセージ送信ができました。
次回はEvent Hubsに送ったメッセージをストレージアカウントに受信してみます。
お楽しみに!
