前々回、前回に引き続き、Azure IoTサービスの1つ「Event Hubs」についてご紹介します。
今回は前回作成した「Sender」を受信するための「Receiver」を作成し、メッセージの送受信を行います。
前準備
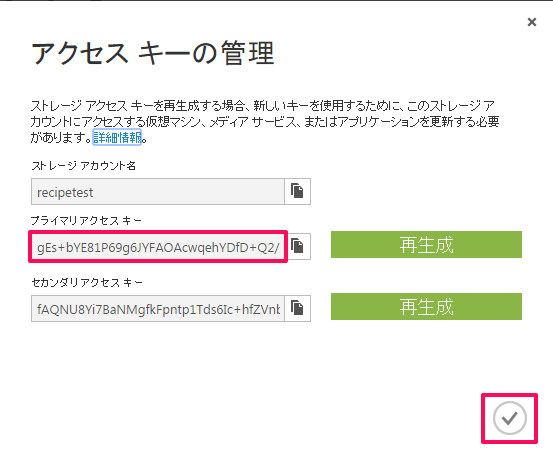
今回はストレージアカウントを使用します。
新規に作る際は下記を参考にして下さい。
ストレージ編~5分でできるストレージ作成
http://azure-recipe.kc-cloud.jp/2015/01/5min-get-started-azure-storage/
利用するのはストレージアカウント名とアクセスキーですので控えておいて下さい。
Visual Studioの準備
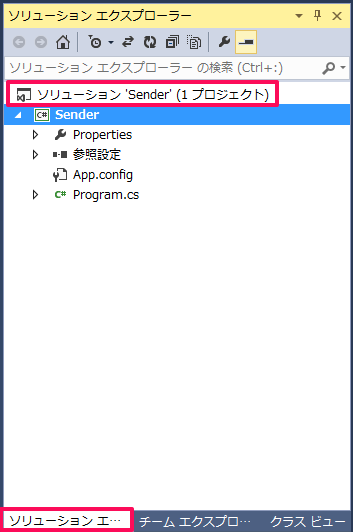
前回利用したソリューションにプロジェクトを追加します。
ソリューションを右クリックし「追加」→「新しいプロジェクト」の順に開きます。
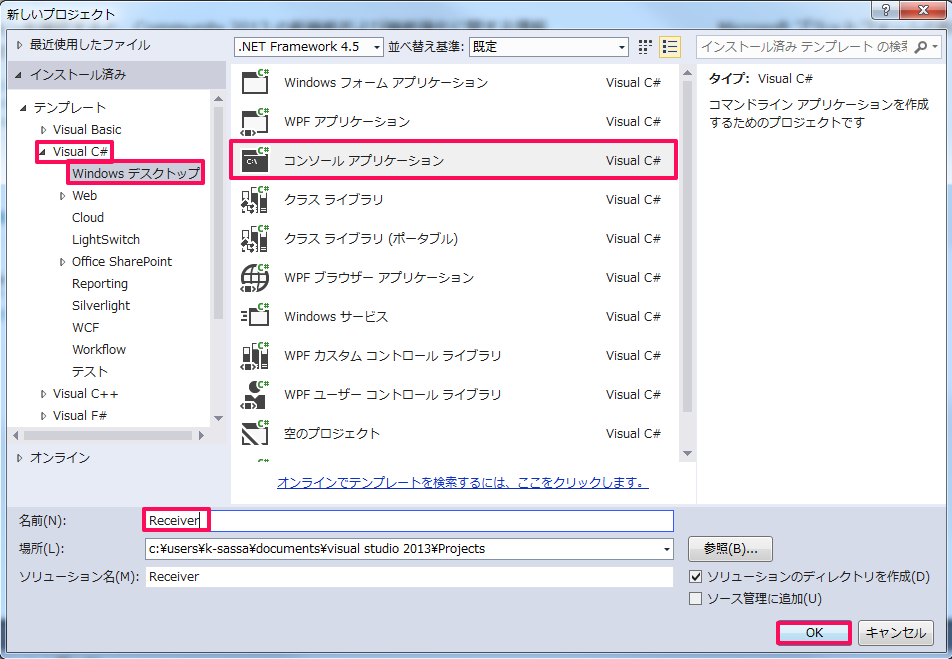
今回もC#で動作させますので、「Visual C#」→「Windows デスクトップ」→「コンソールアプリケーション」の順に選択し、ソリューション名を入力します。
今回は「Receiver」とします。
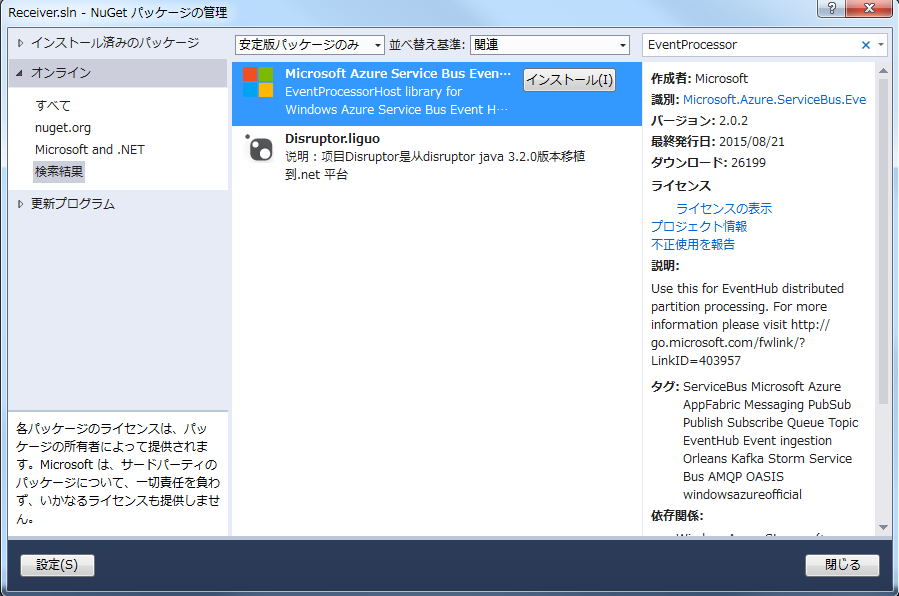
続いて、再度ソリューションを右クリックし、「ソリューションのNuGetパッケージの管理」をクリックします。
今回は「Microsoft Azure Service Bus Event Hub -EventProssesorHost」のパッケージをインストールします。
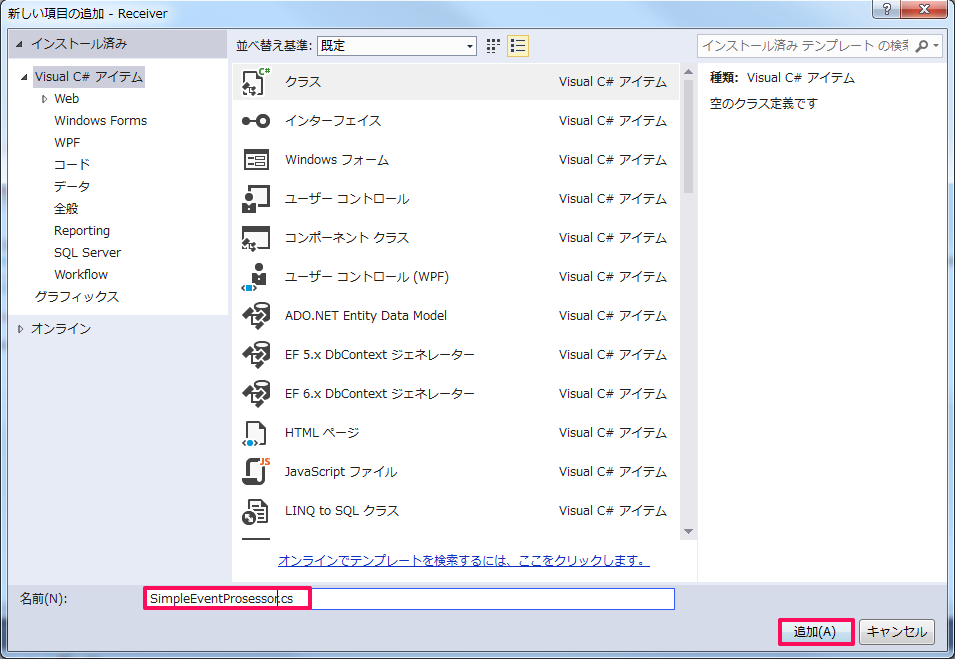
インストールが終わったらプロジェクト名を右クリックし「追加」→「クラス」の順にクリックします。
追加するクラス名は「SimpleEventProcessor.cs」とします。
以上で、Visual Studio側の準備は完了です。
サンプルメッセージプログラムの送受信
まずは「SimpleEventProcessor.cs」を開き、下記の様に記述します。
黒字がデフォルト部分、赤字が追加記述部分となります。
|
1 2 3 4 5 6 7 8 9 10 11 12 13 14 15 16 17 18 19 20 21 22 23 24 25 26 27 28 29 30 31 32 33 34 35 36 37 38 39 40 41 42 43 44 45 46 47 48 49 50 |
using System; using System.Collections.Generic; using System.Linq; using System.Text; using Microsoft.ServiceBus.Messaging; using System.Diagnostics; using System.Threading.Tasks; namespace Receiver { class SimpleEventProcessor : IEventProcessor { Stopwatch checkpointStopWatch; async Task IEventProcessor.CloseAsync(PartitionContext context, CloseReason reason) { Console.WriteLine("Processor Shutting Down. Partition '{0}', Reason: '{1}'.", context.Lease.PartitionId, reason); if (reason == CloseReason.Shutdown) { await context.CheckpointAsync(); } } Task IEventProcessor.OpenAsync(PartitionContext context) { Console.WriteLine("SimpleEventProcessor initialized. Partition: '{0}', Offset: '{1}'", context.Lease.PartitionId, context.Lease.Offset); this.checkpointStopWatch = new Stopwatch(); this.checkpointStopWatch.Start(); return Task.FromResult<object>(null); } async Task IEventProcessor.ProcessEventsAsync(PartitionContext context, IEnumerable<EventData> messages) { foreach (EventData eventData in messages) { string data = Encoding.UTF8.GetString(eventData.GetBytes()); Console.WriteLine(string.Format("Message received. Partition: '{0}', Data: '{1}'", context.Lease.PartitionId, data)); } //Call checkpoint every 5 minutes, so that worker can resume processing from the 5 minutes back if it restarts. if (this.checkpointStopWatch.Elapsed > TimeSpan.FromMinutes(5)) { await context.CheckpointAsync(); this.checkpointStopWatch.Restart(); } } } } |
続いて、「Program.cs」を開き、下記の様に記述します。
※「eventHubConnectionString」「eventHubName」「storageAccountName」「storageConnectionString」はそれぞれ作成環境に合わせて入力して下さい。
|
1 2 3 4 5 6 7 8 9 10 11 12 13 14 15 16 17 18 19 20 21 22 23 24 25 26 27 28 29 30 31 32 |
using System; using System.Collections.Generic; using System.Linq; using System.Text; using Microsoft.ServiceBus.Messaging; using System.Threading; using System.Threading.Tasks; namespace Receiver { class Program { static void Main(string[] args) { string eventHubConnectionString = "Endpoint=sb://recipetest-ns.servicebus.windows.net/;SharedAccessKeyName=recipetest;SharedAccessKey=q7wE+o7pvWwZRI2hmfK8Za968j8qJ4J2e0TspwMC53w="; string eventHubName = "recipetest"; string storageAccountName = "recipetest"; string storageAccountKey = "gEs+bYE81P69g6JYFAOAcwqehYDfD+Q2/soRKdNGQLPYz+gYqMgkgGygEzpS6MFb3FsfPWZxYLa6osGxM3mwRg=="; string storageConnectionString = string.Format("DefaultEndpointsProtocol=https;AccountName={0};AccountKey={1}", storageAccountName, storageAccountKey); string eventProcessorHostName = Guid.NewGuid().ToString(); EventProcessorHost eventProcessorHost = new EventProcessorHost(eventProcessorHostName, eventHubName, EventHubConsumerGroup.DefaultGroupName, eventHubConnectionString, storageConnectionString); Console.WriteLine("Registering EventProcessor..."); eventProcessorHost.RegisterEventProcessorAsync<SimpleEventProcessor>().Wait(); Console.WriteLine("Receiving. Press enter key to stop worker."); Console.ReadLine(); eventProcessorHost.UnregisterEventProcessorAsync().Wait(); } } } |
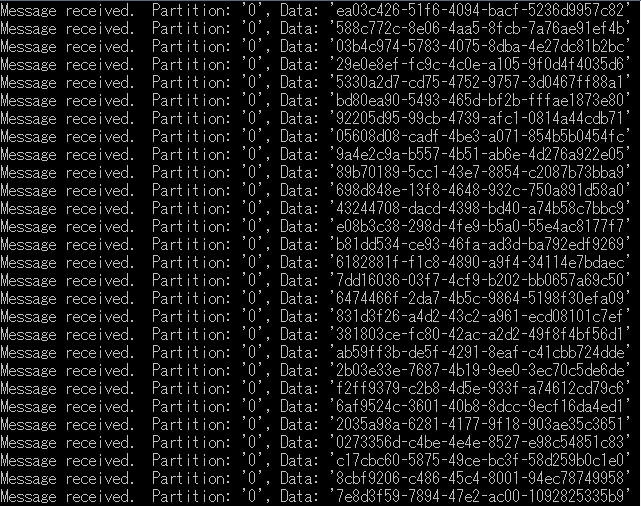
記述が完了したら、画面右の「Receiver」を右クリックし、「デバッグ」→「新しいインスタンスの開始」をクリックします。
エラー無く、下図の様に表示されれば「Receiver」側の準備完了です。
続いて、「Sender」を右クリックし、「デバッグ」→「新しいインスタンスの開始」をクリックします。
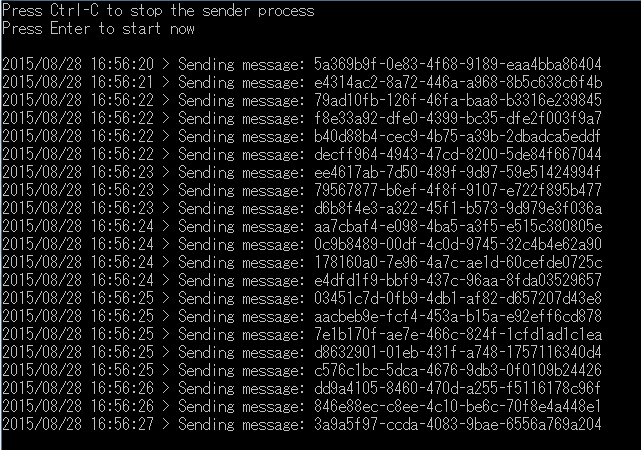
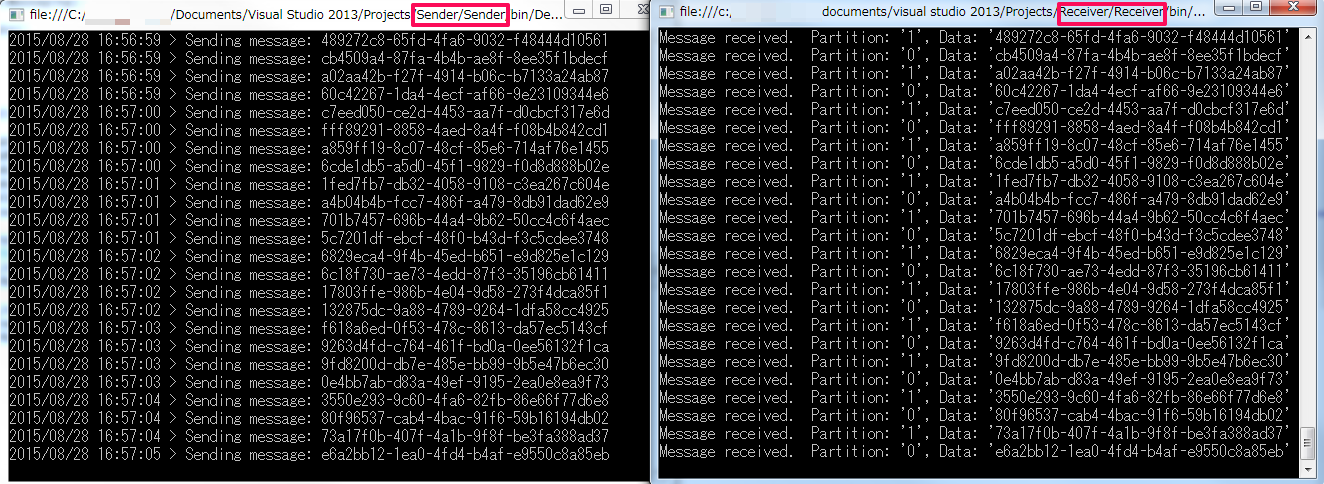
「Enter」キーを押すと「Sender」側では前回同様メッセージが出力されますが、同時に「Receiver」側でメッセージを受け取っているのが確認できます。
いかがでしたでしょうか。
前々回からEvent Hubsの簡単な使い方について紹介してきました。
このサービスを応用することでログデータやセンサーデータを取り込んで、加工や分析・機械学習へと繋げるIoTが可能となります。
今後もAzureの最先端サービスの使い方を紹介していきます。
お楽しみに!
※今回の記事は下記を参考に致しました。
https://azure.microsoft.com/ja-jp/documentation/articles/event-hubs-csharp-ephcs-getstarted/
