ゴール
Create your first bot with Composerで説明されているチャットボットが完成します。日本語化とシンプル化を意識して書きました。
スタートライン
- node.jsがインストールされていること
環境
- Node.js
- .NET Core SDK
- Bot Framework Composer
実行
.NET Core SDKのインストール
以下の記事を参考に、.NET Core SDKをインストールしてください。
https://dotnet.microsoft.com/en-us/download/dotnet/3.1
Bot Framework Composerのインストール
以下の記事を参考に、Bot Framework Composerをインストールしてください。
https://learn.microsoft.com/ja-jp/composer/install-composer?tabs=windows
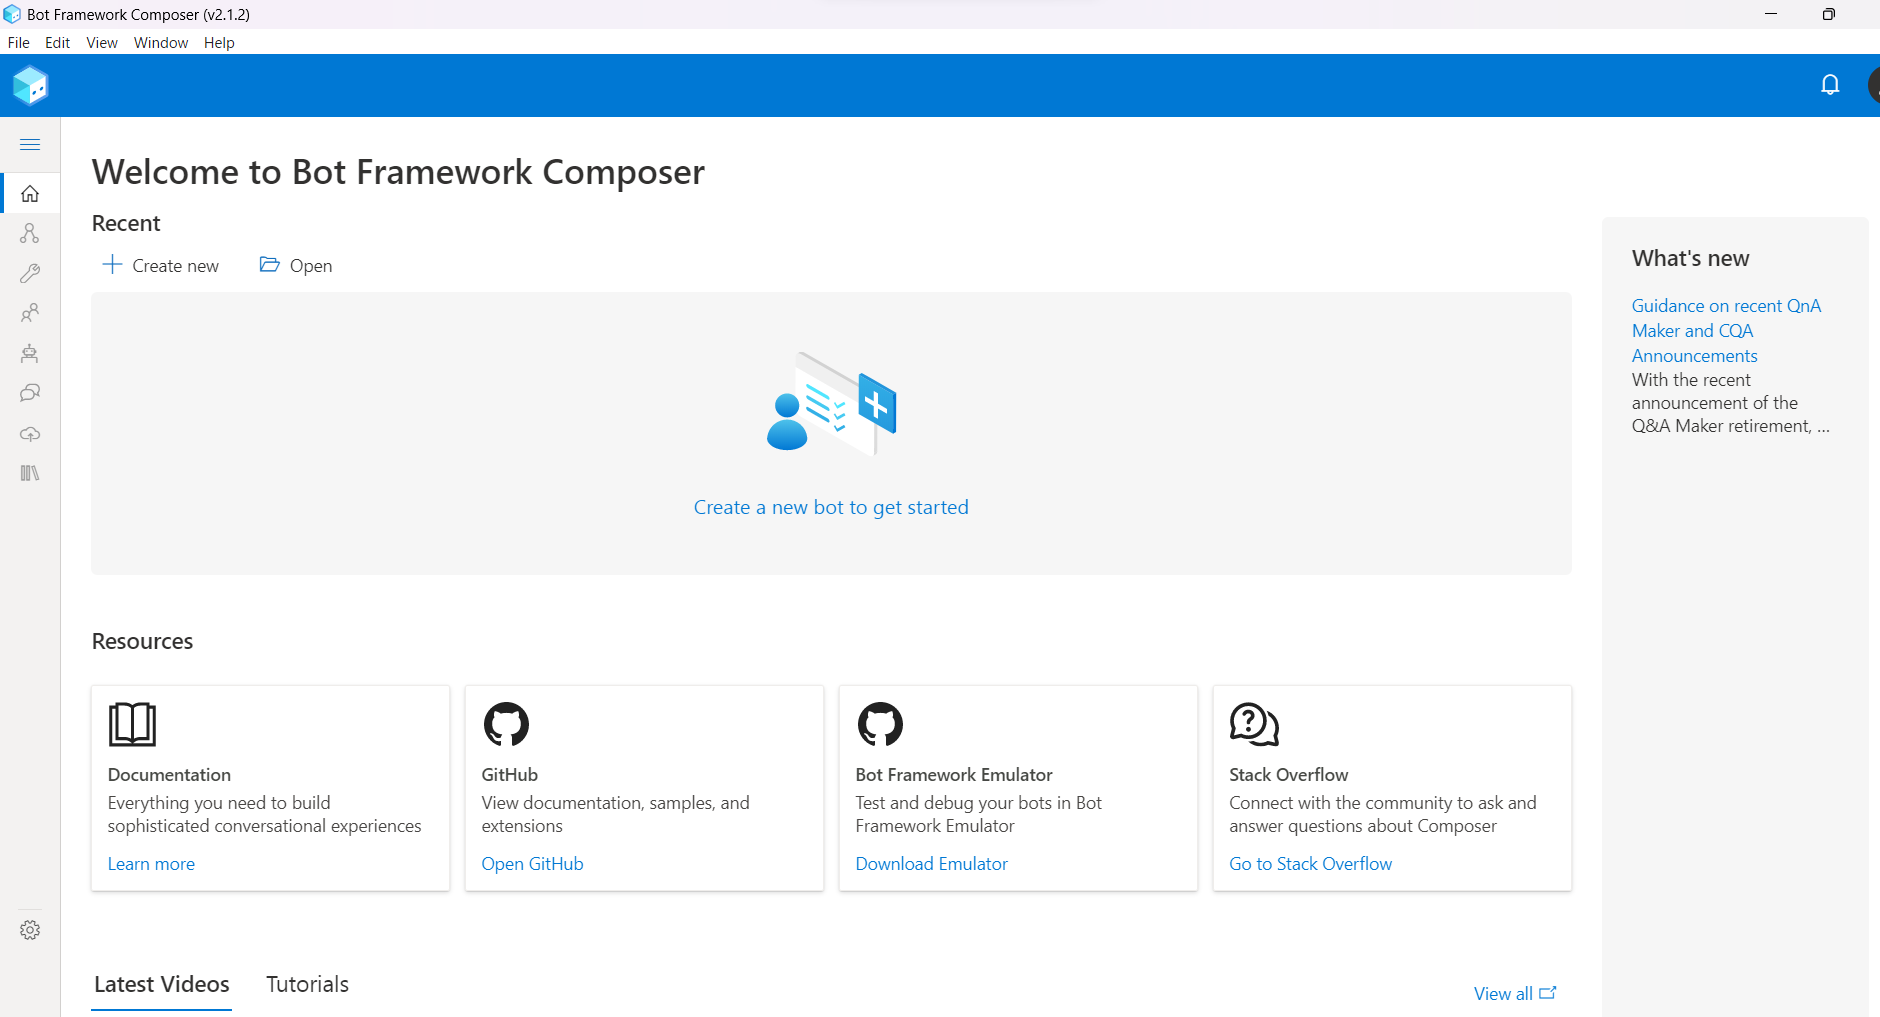
チャットボットの実装
Bot Framework Composerを開き、「+ Create new」を選択します。
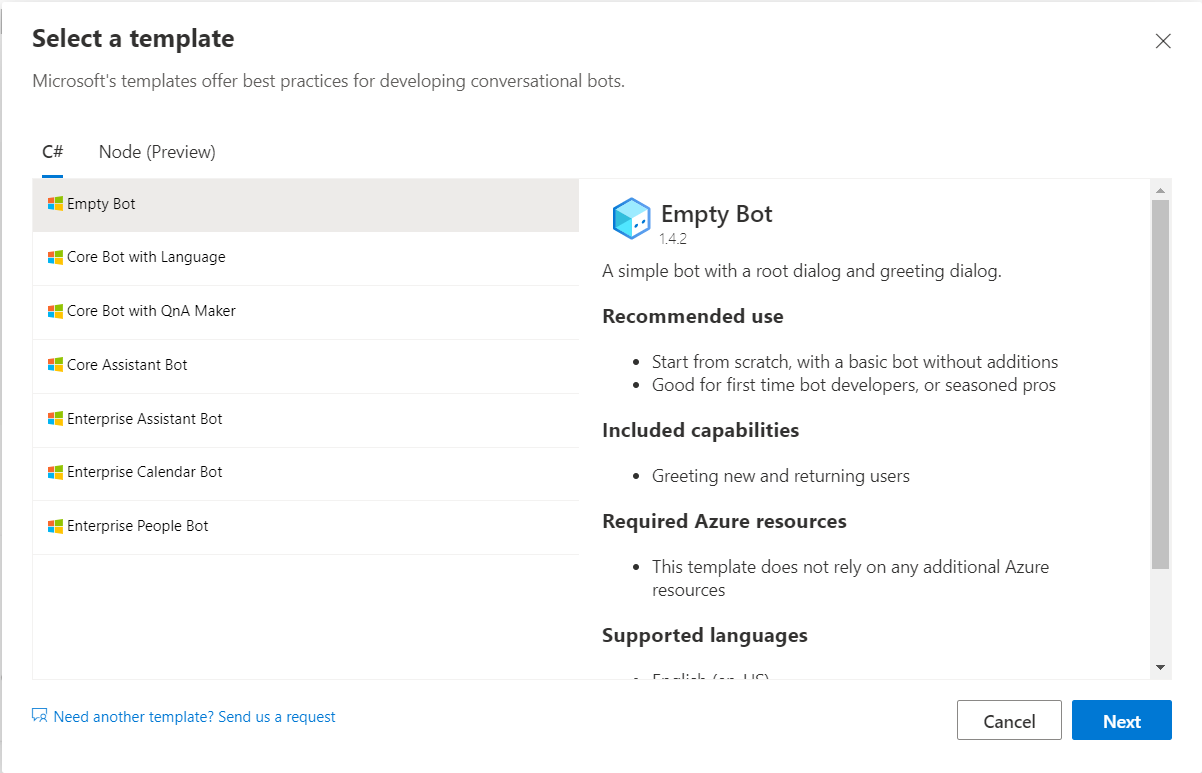
テンプレートは「Empty Bot」を選択し、「Next」で次の画面に進みます。
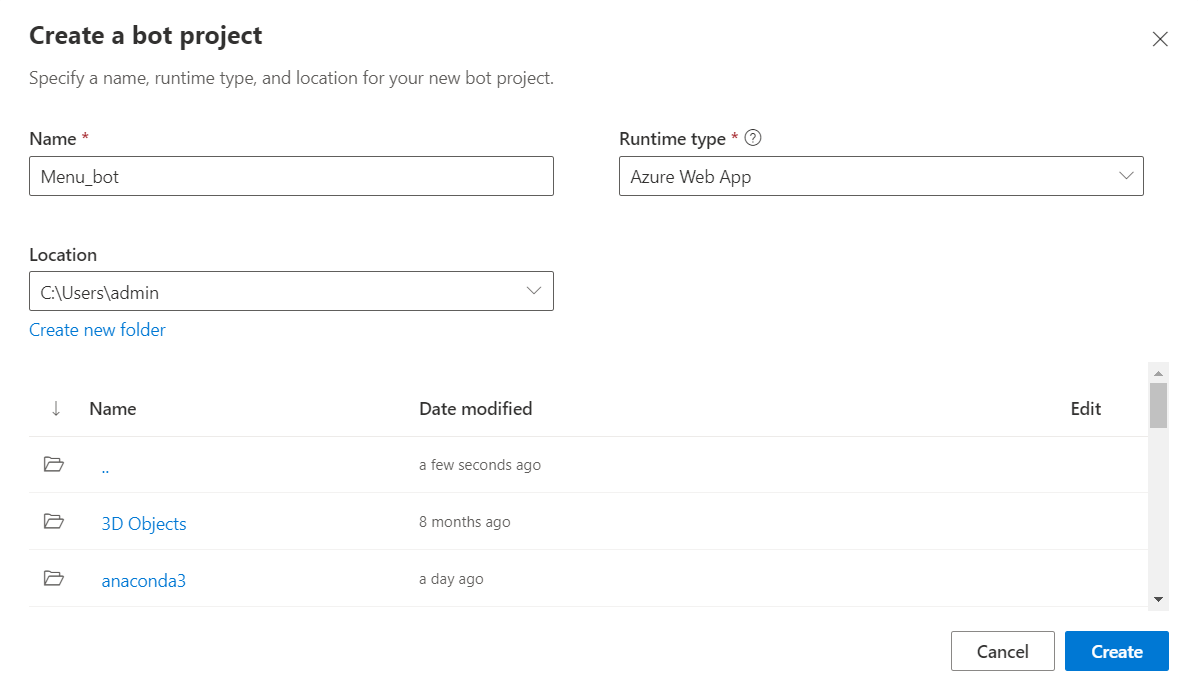
Nameは「Menu_bot」、Runtime typeは「Azure Web App」、
Locationはご自身の環境に合わせてください。
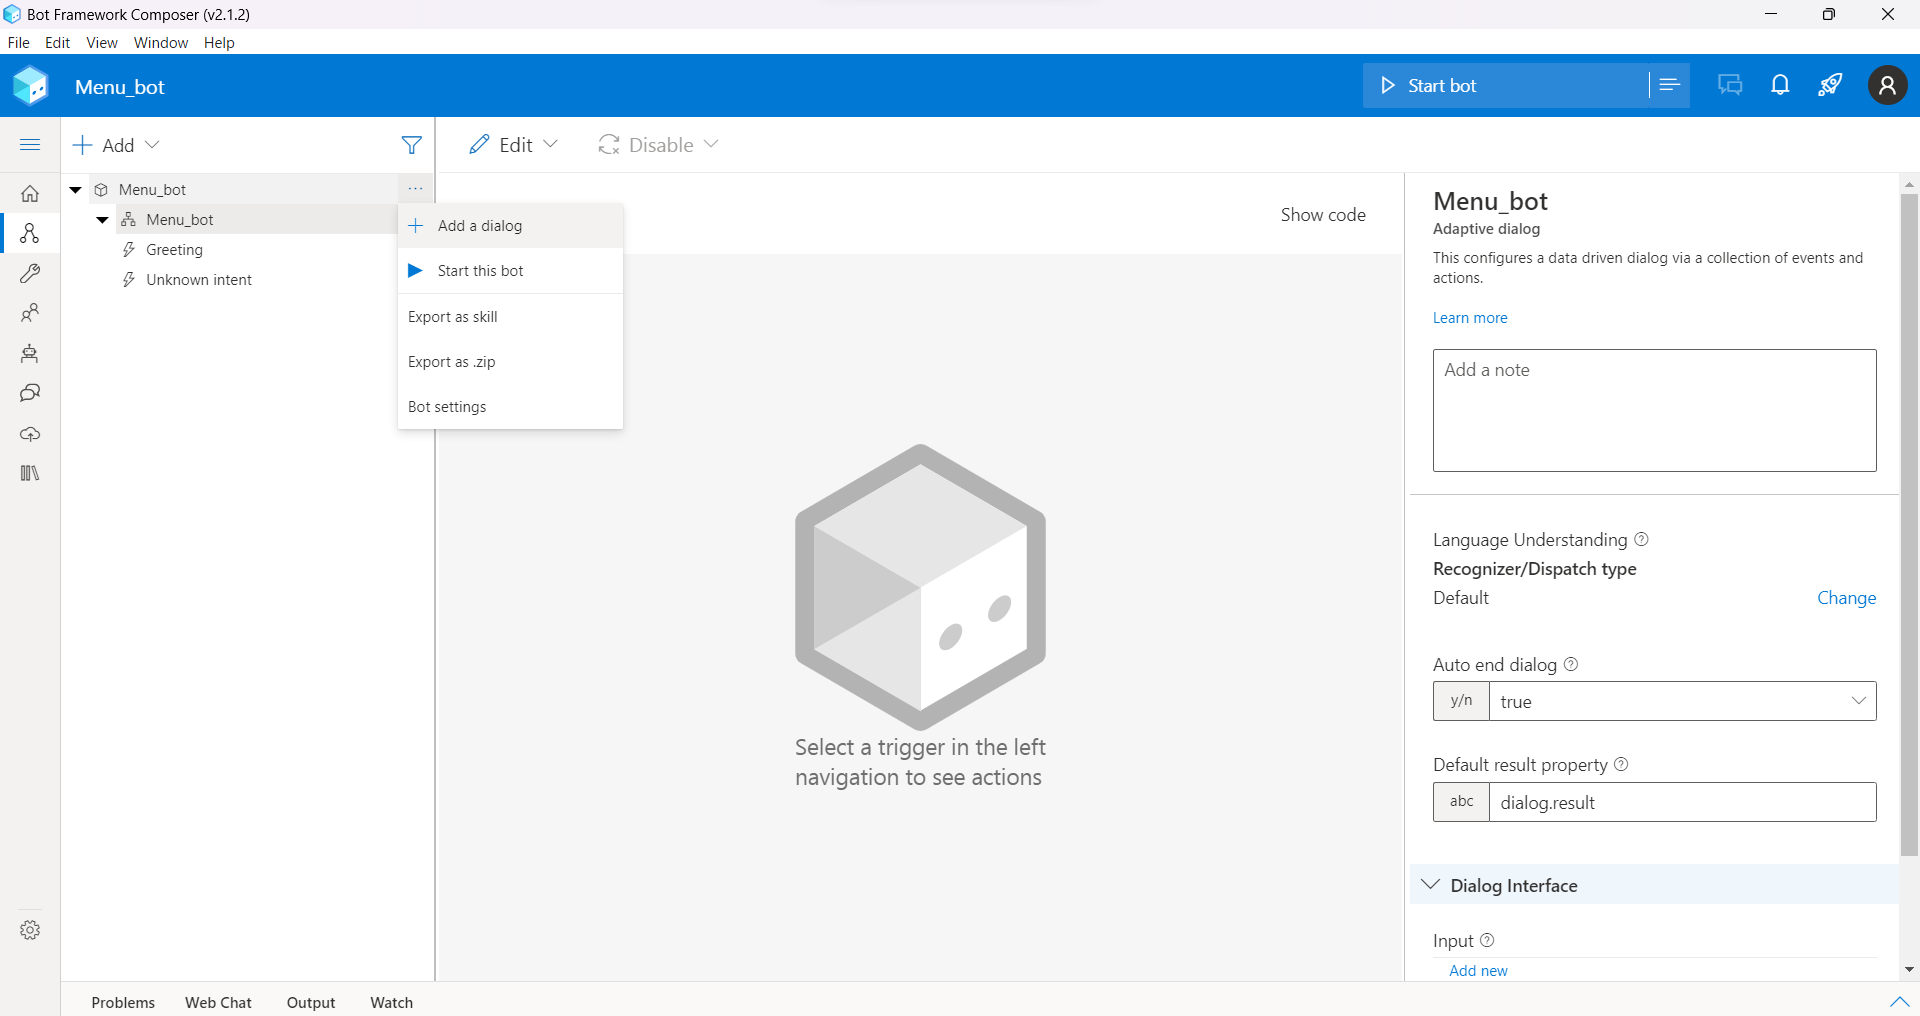
左側に箱のマークがあるMenu_botの3点リーダーから、「Add a dialog」を選択します。
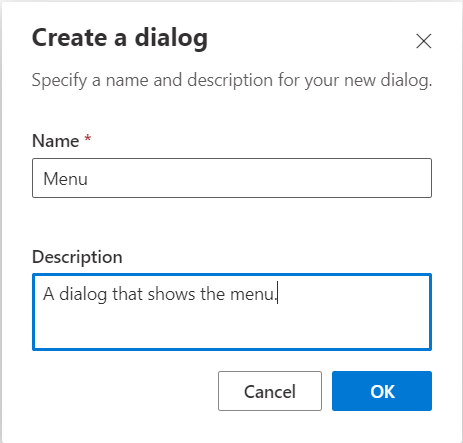
Nameは「Menu」、Descriptionは「A dialog that shows the menu.」と入力し、「OK」を選択します。
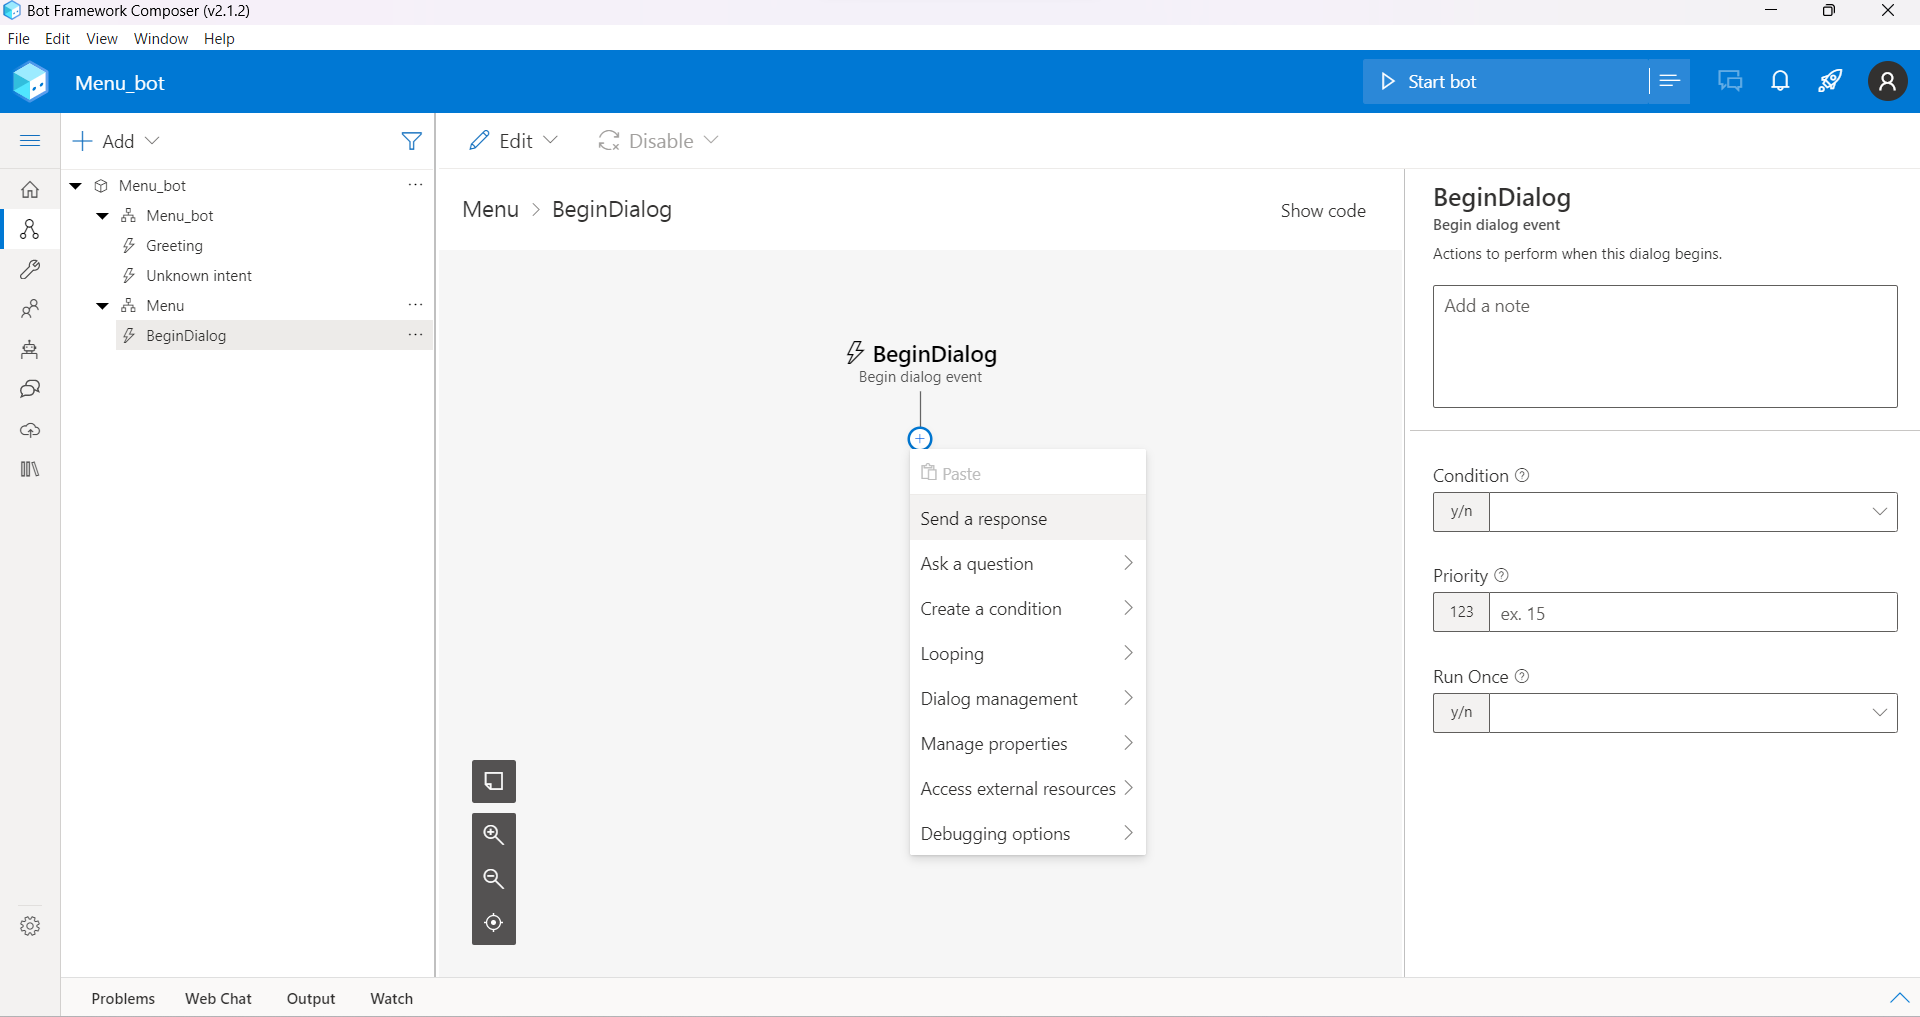
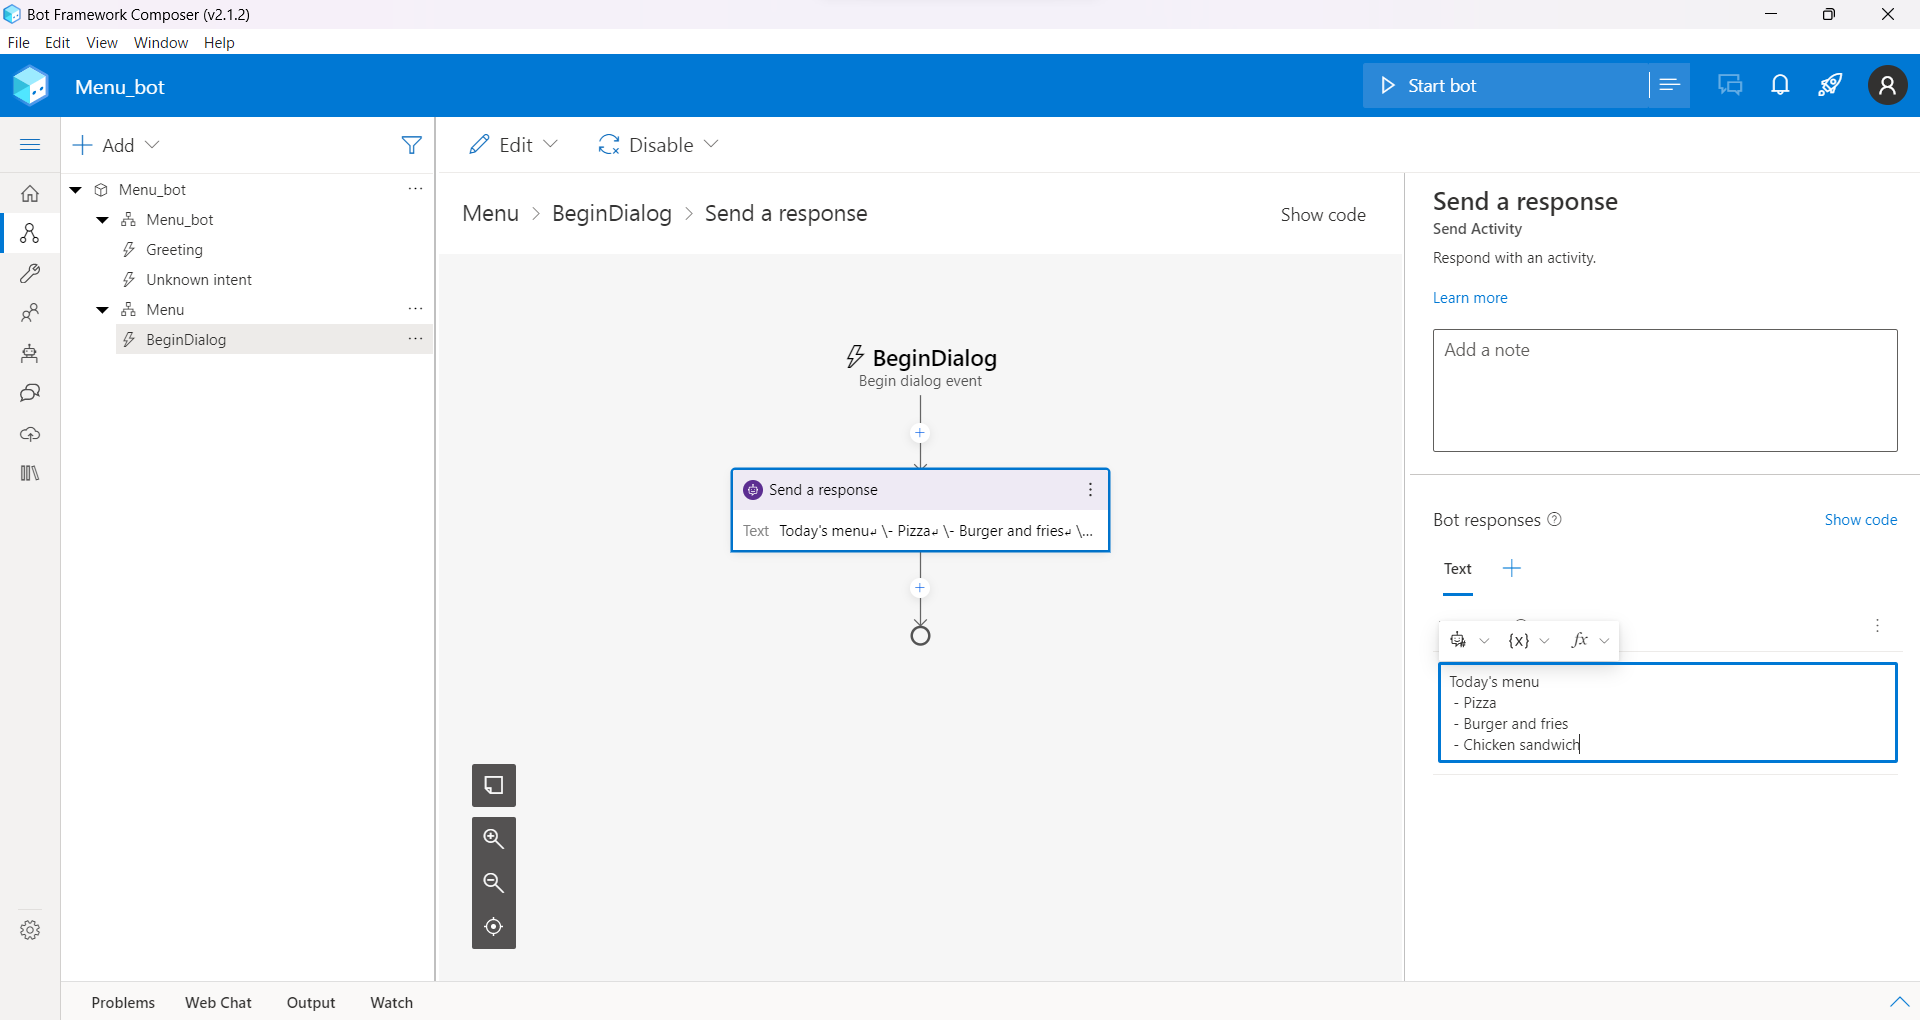
「BeginDialog」の下の「+」ボタンから、「Send a response」を選択します。
「Bot responses」に以下のテキストを入力します。
|
1 2 3 4 5 |
Today's menu - Pizza - Burger and fries - Chicken sandwich |
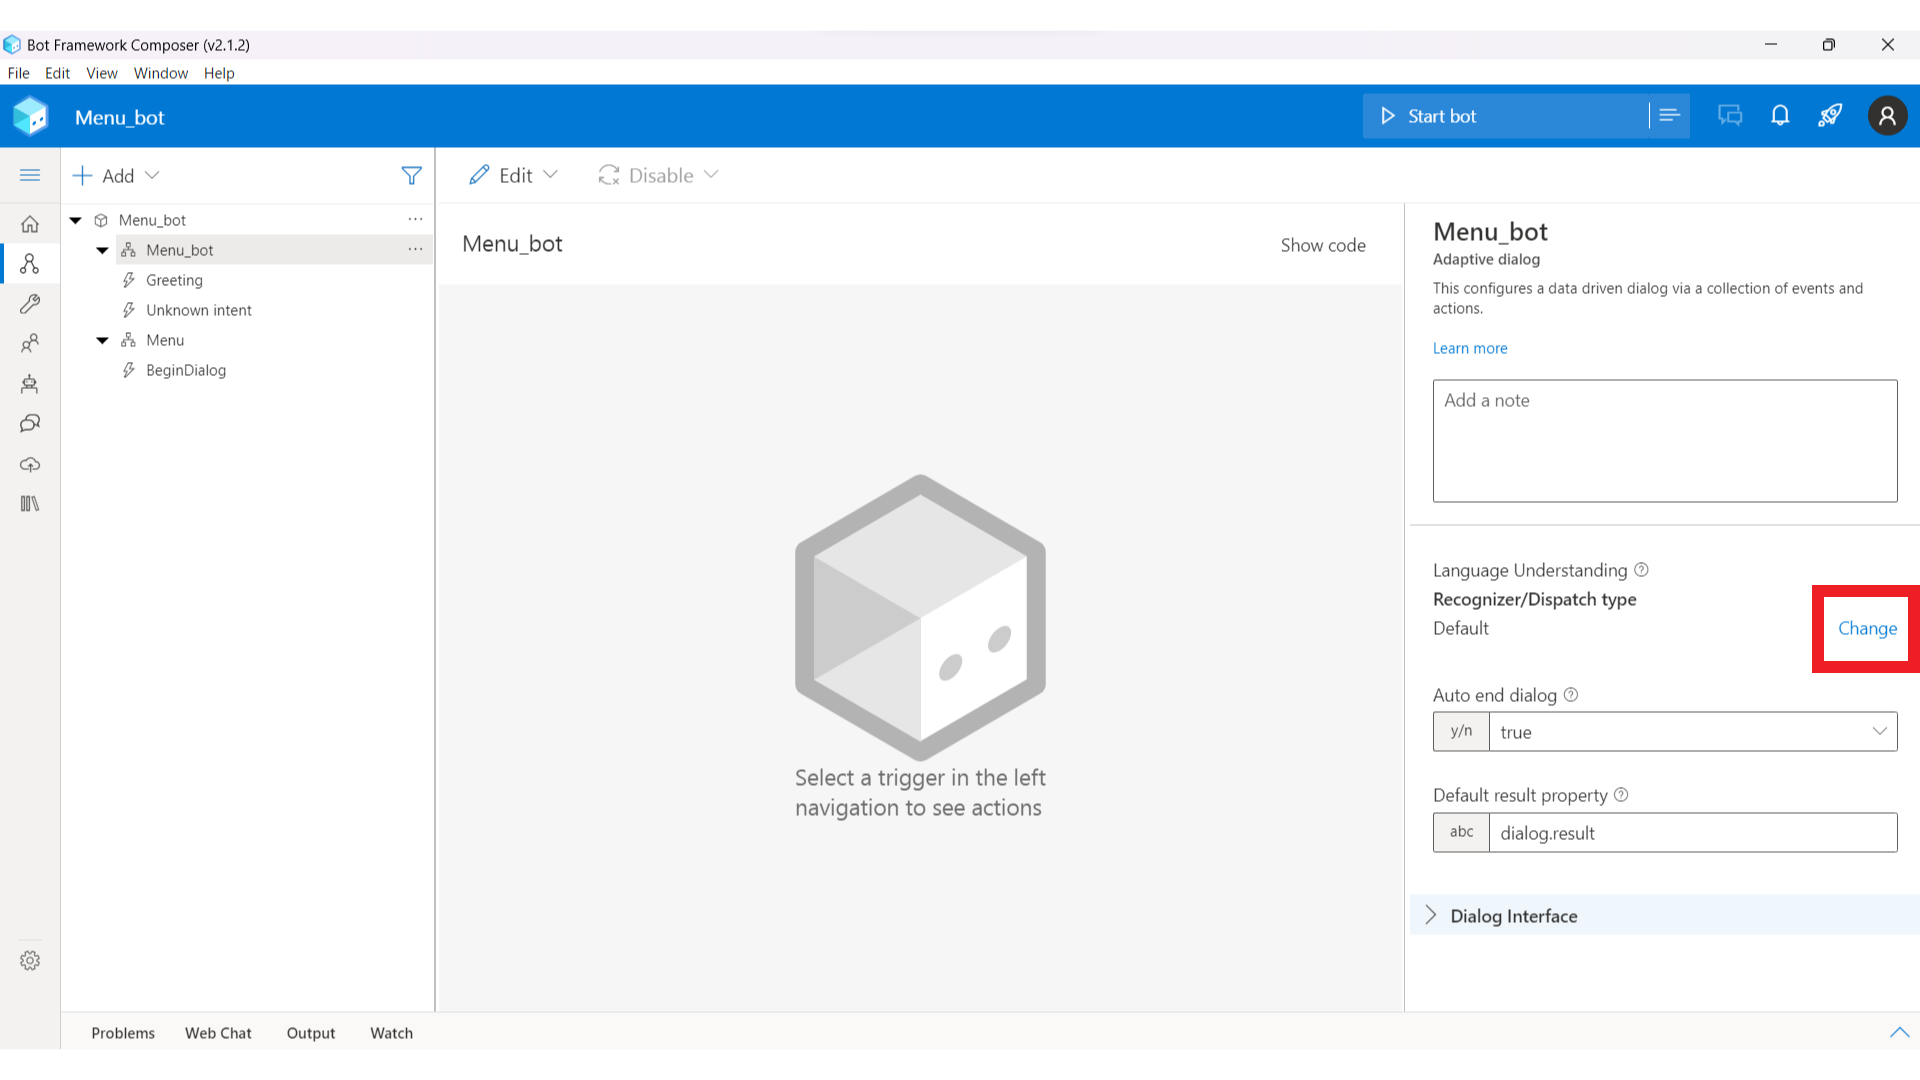
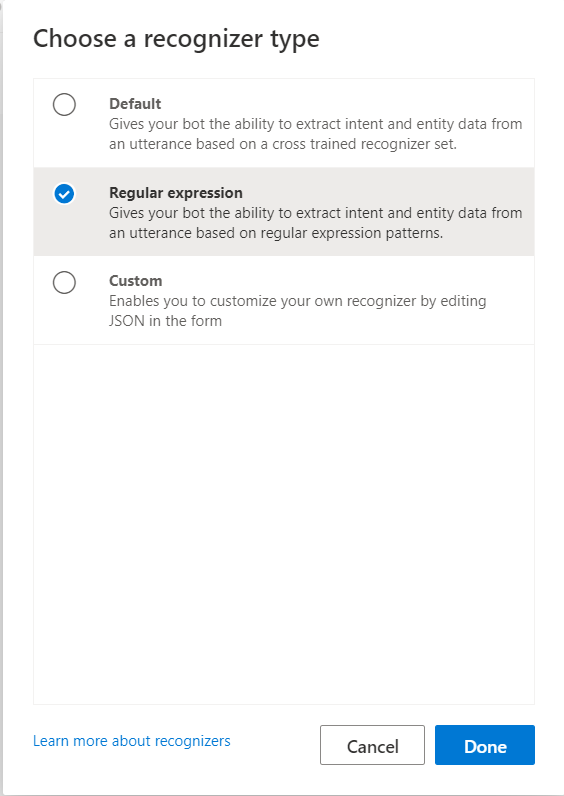
Recognizer/Dispatch typeから「Change」を選択します。
「Regular expression」を選択し、「Done」します。
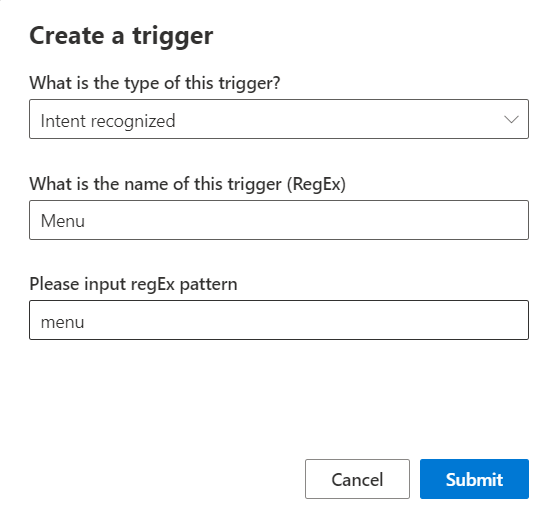
続いて、上から2番目の「Menu_bot」の三点リーダーから「Add new trigger」を選択します。

What is the type of this trigger?は「Intent recognized」を選択し、What is the name of this trigger(RegEx)は「Menu」、Please input regEx patternは「menu」と入力し、「Submit」を選択します。
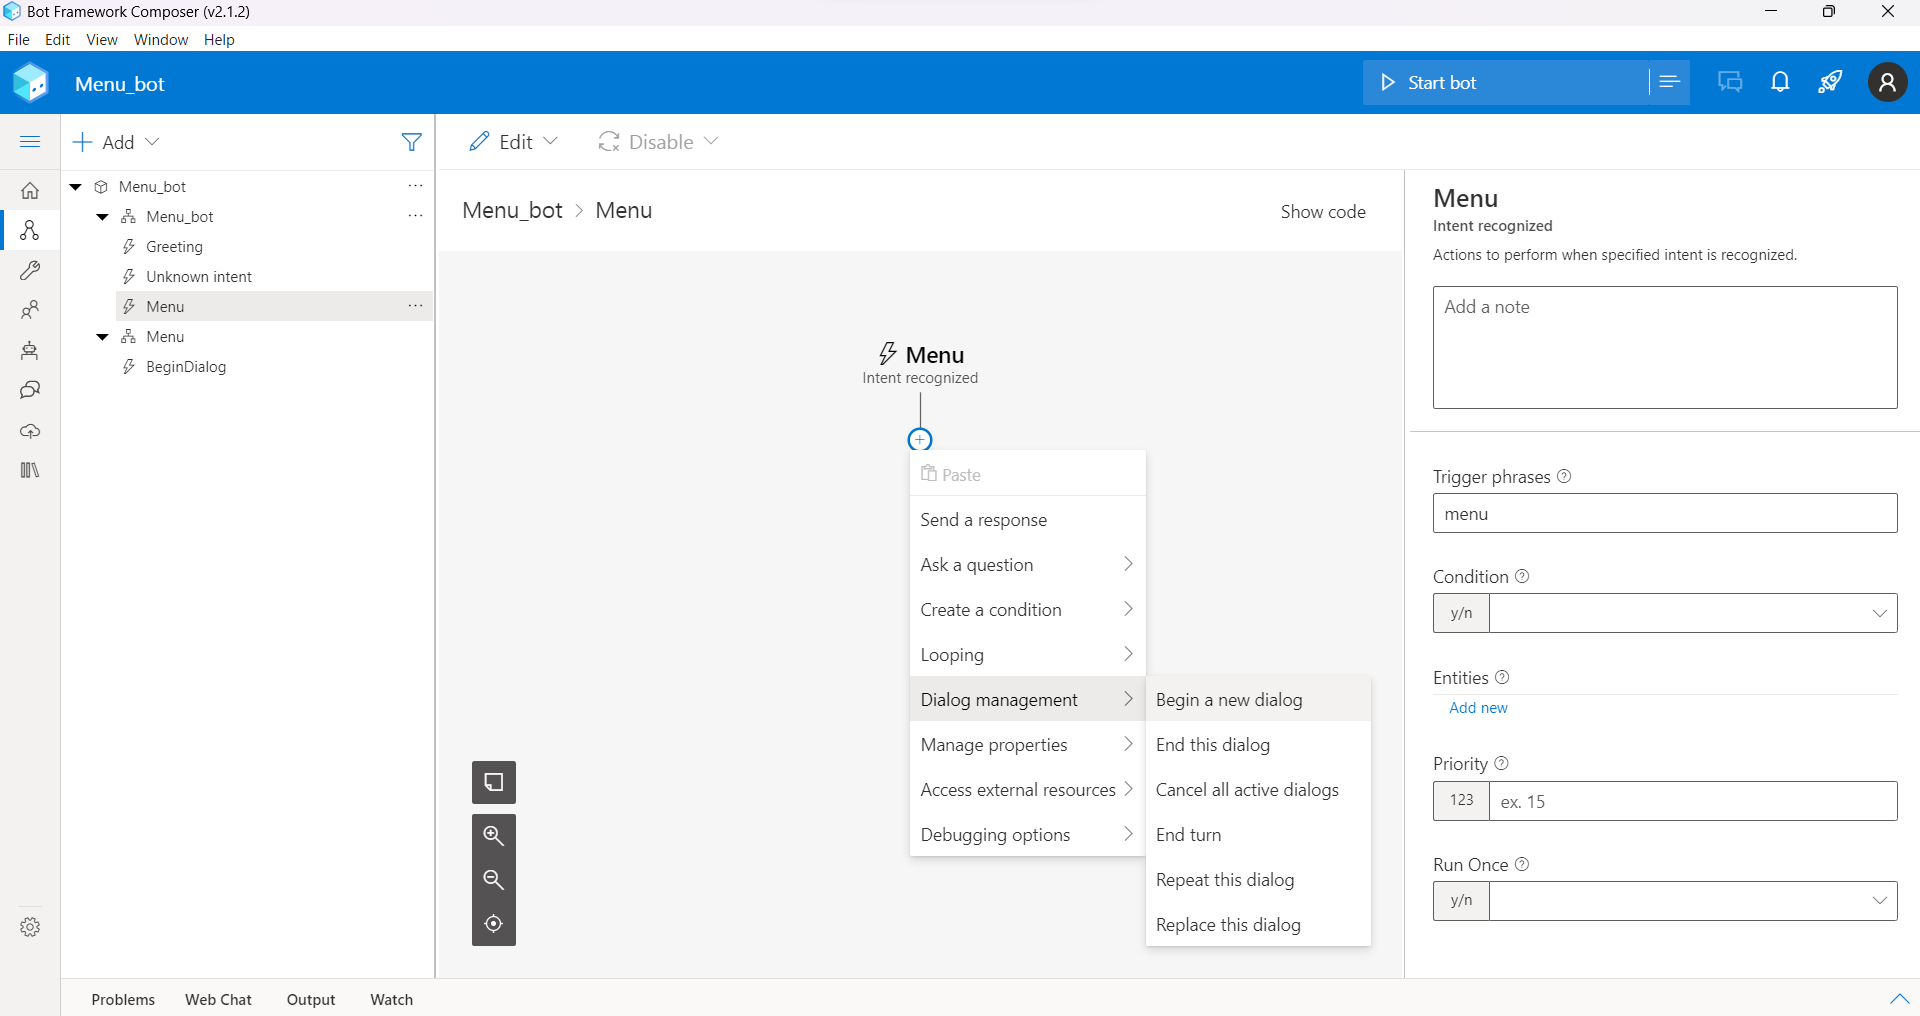
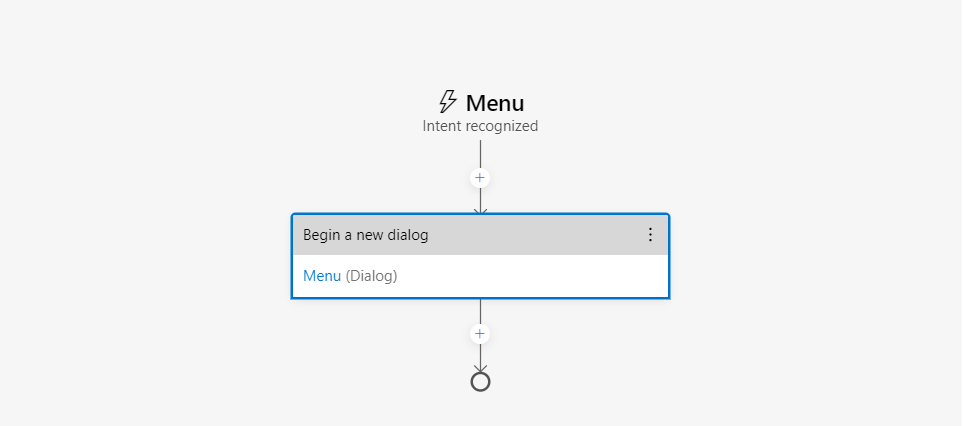
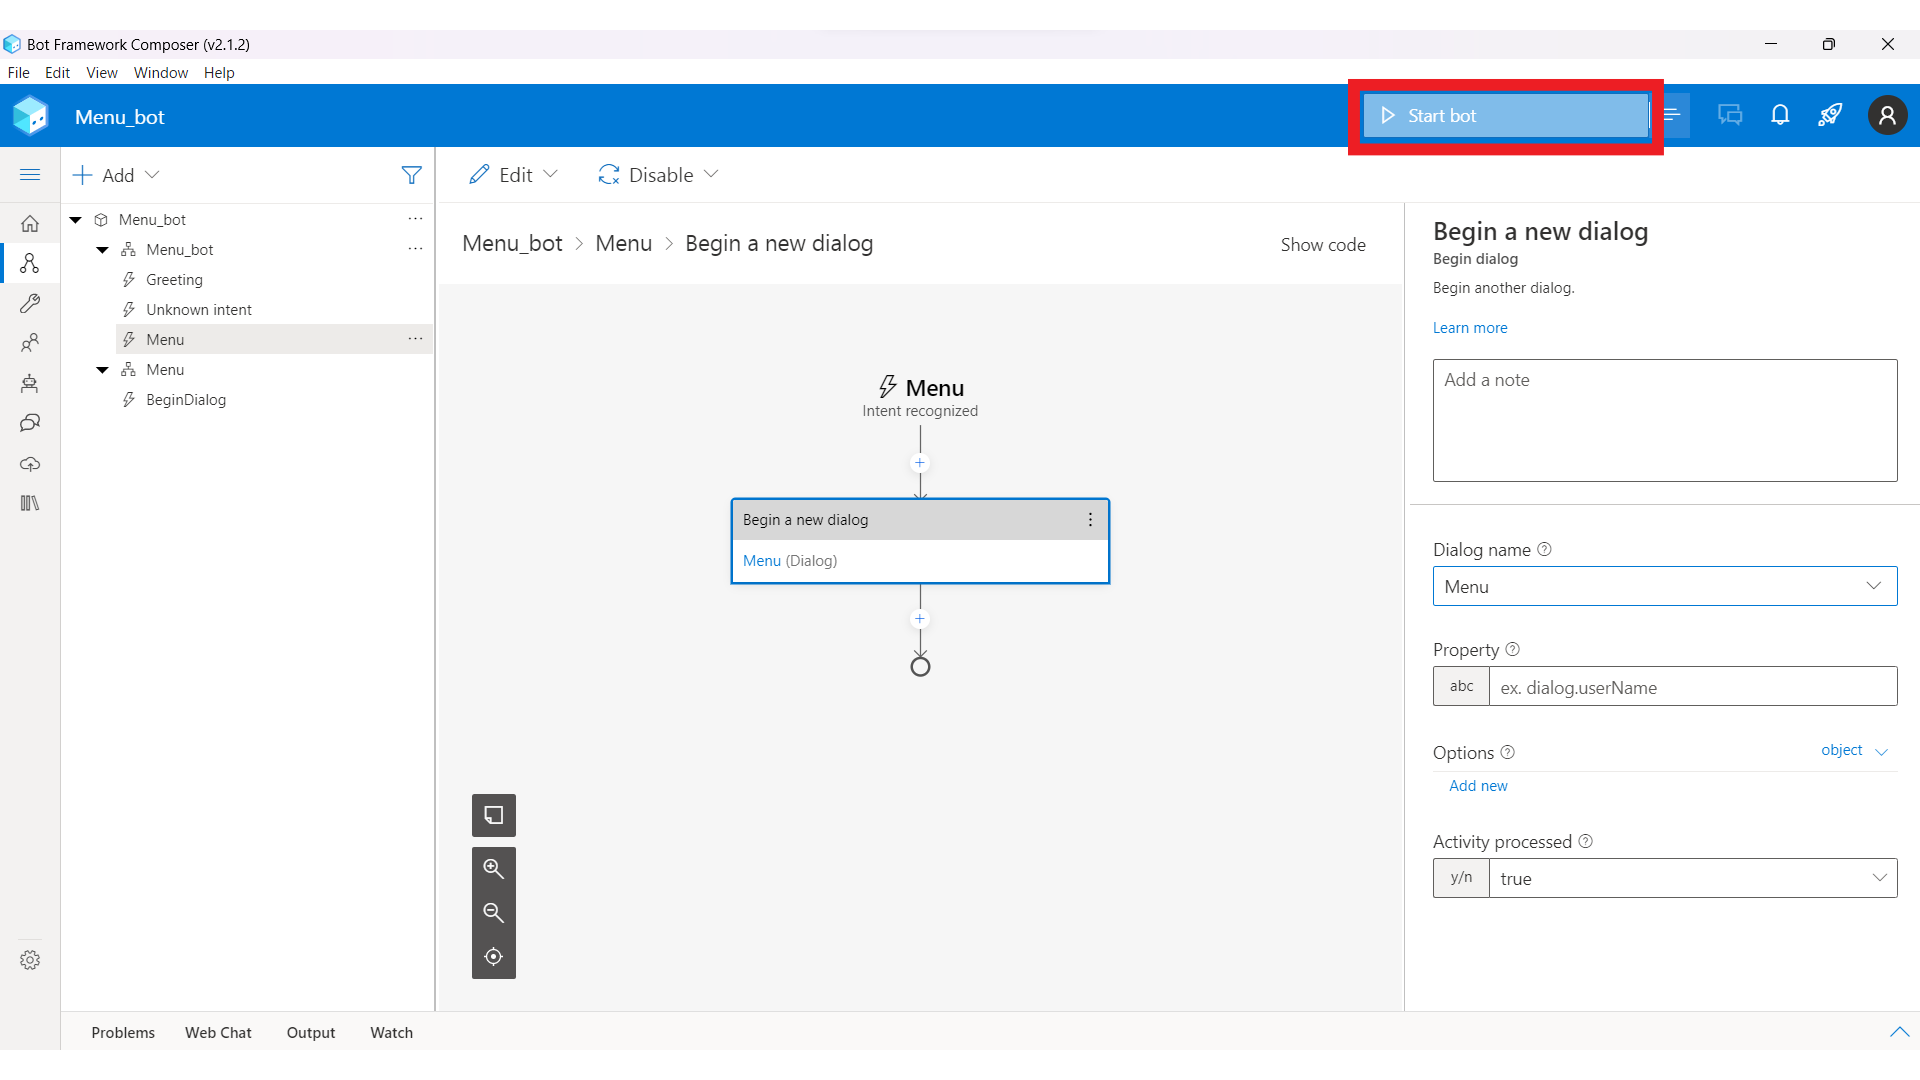
Menuの下の「+」ボタンから、「Dialog management」の「Begin a new dialog」を選択します。
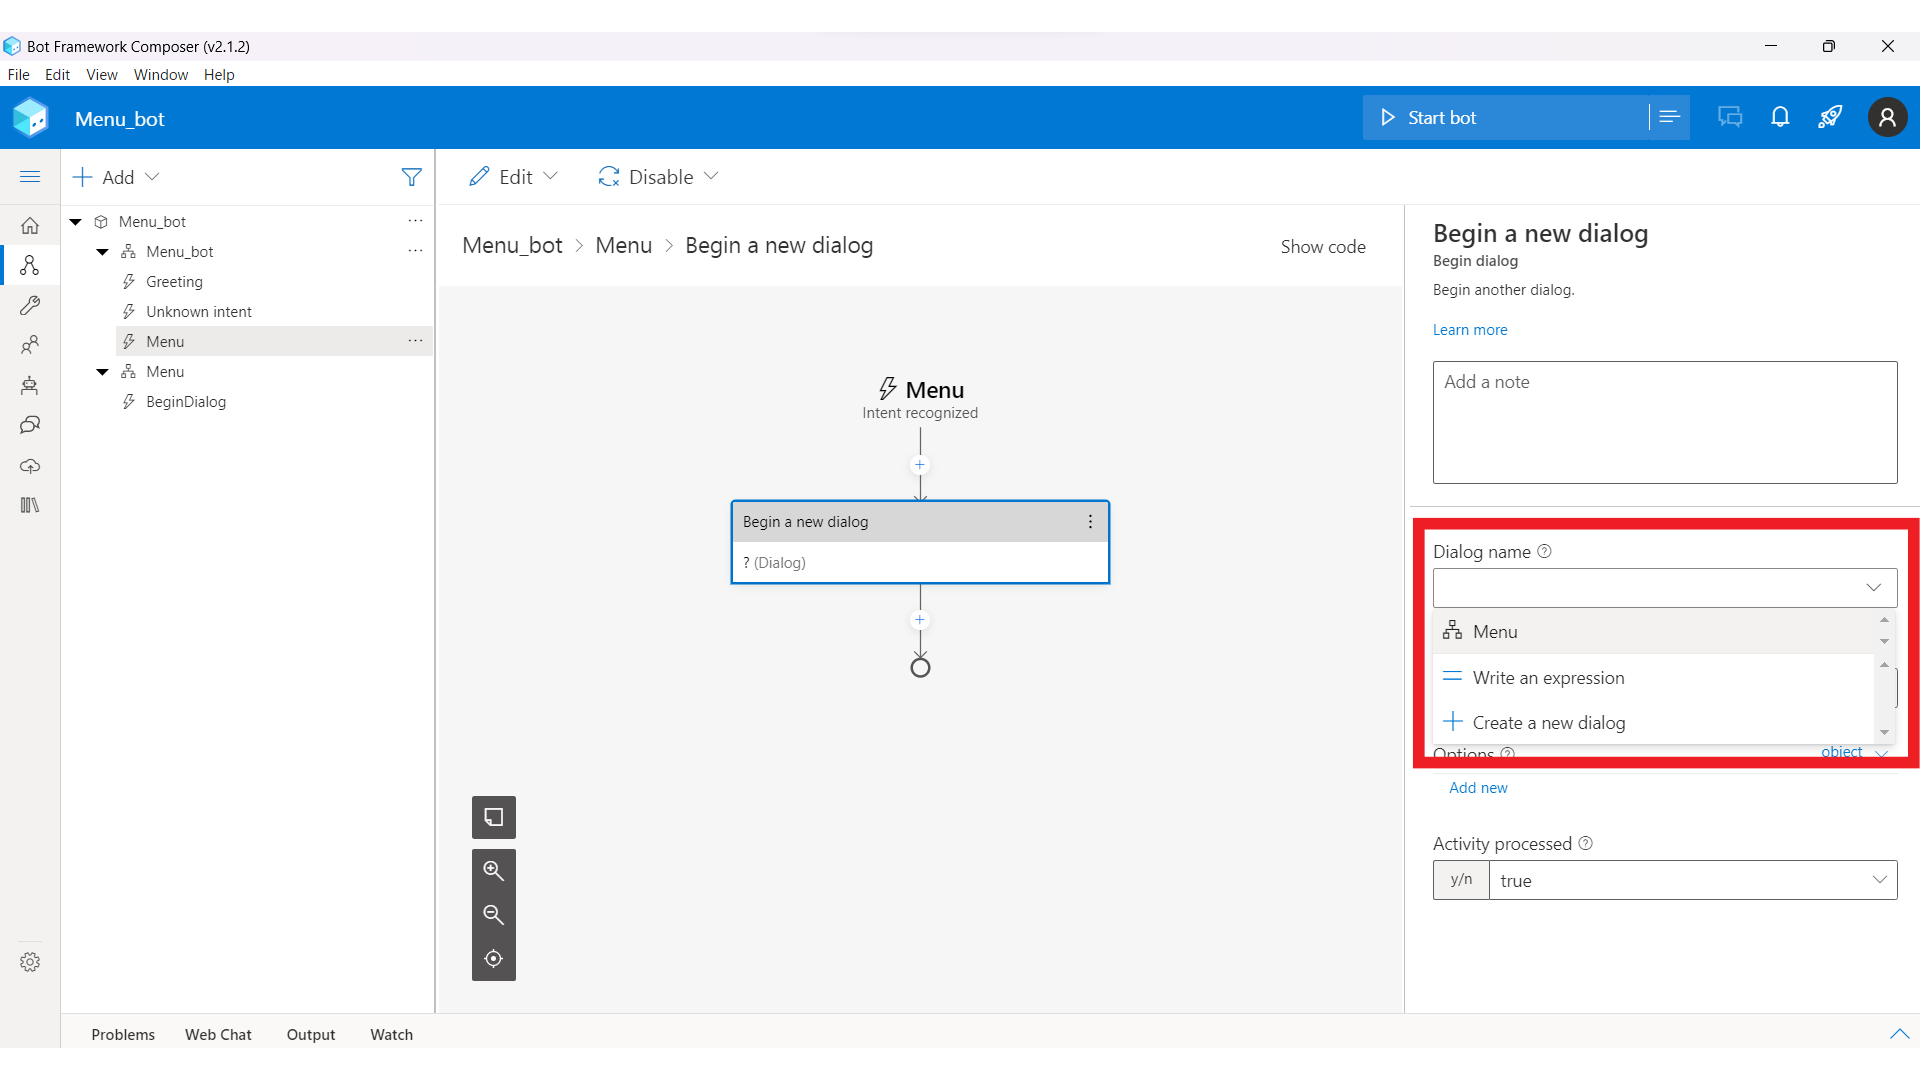
右側のDialog nameで「Menu」を選択します。
以下のように表示されるはずです。
ここまでできたら、「Start bot」を選択します。
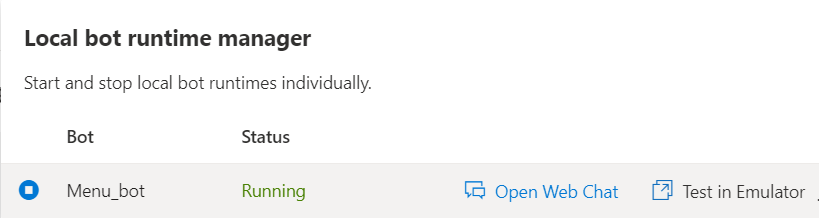
「Open Web Chat」を選択します。
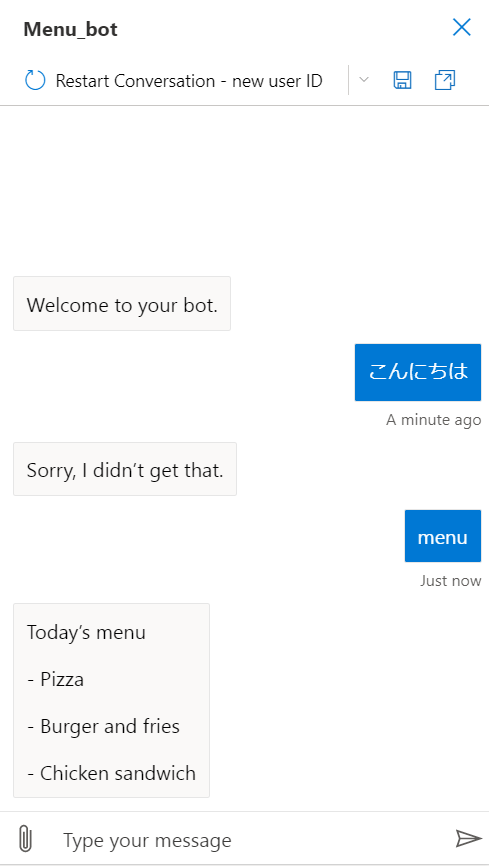
以下のようにチャット画面が立ち上がります。トリガーとなる「menu」を送信すると、登録した結果が返ってくることが確認できます。
おわりに
Bot Framework Composerで簡単なボットを作ってみました。現在は生成AIでボットが作れてしまいますが、生成AIが登場する前のボットの仕組みを理解することも大切だと思います。
最後までお読みいただき、ありがとうございました!
以下のXで情報発信してます!
https://twitter.com/t___tatsuki
参考文献
https://learn.microsoft.com/ja-jp/composer/quickstart-create-bot#add-bot-functionality
